Usecase: Here,we will see how to check or export the report after importing an HCM Business Object using HDL, and review the results for errors or validation issues. We will send UCM content id as input and get the error details.
Implementation steps:
- Create a Data model and rtf template based BIP report to get the business object import/load error details.
- Create an ESS job based on the BIP report
- From OIC integration, call exportBulkdata of erpIntegrationService using oracle hcm cloud adapter and in the mapping provide the following details
- Job name: Ess job package,job definition name ex: "/oracle/apps/ess/custom/oic/int111/out/,HDLErroLog_BIP_Custom_ESS"
- Parameter list: ucm content id
- Job options : "EnableEvent=Y"
- Callbackurl: "#NULL"
- Create another callback integration and perform as below:
- subscribe the event using Oracle Cloud ERP adapter
- Select Receive business events raised within ERP cloud
- Select ERP Integration Outboubd Event
- Put a filter condition for the ess job name to get theb callback distingushly for the particular business object.
- Get the report using hcm adapter CRUD:
- Service- erpIntegrationService
- Operation: getDocumentForDocumentId
- Unzip the contents using stage action
- List files using stage and with *.xml file pattern.
- Transform the report data to standard format if needed.
- Save the report to OIC sftp location or send a notification to desired DLs.
Data model SQL:
SELECT DISTINCT l.MESSAGE_SOURCE_LINE_ID,
l.msg_text,
fl.TEXT
FROM fusion.hrc_dl_message_lines l,
fusion.hrc_dl_data_set_bus_objs bo,
fusion.hrc_dl_data_sets ds,
fusion.hrc_dl_file_rows fr,
fusion.hrc_dl_file_lines fl,
fusion.hrc_dl_physical_lines pl
WHERE ((l.message_source_table_name = 'HRC_DL_LOGICAL_LINES'
AND l.message_source_line_id = pl.logical_line_id)
OR (l.message_source_table_name = 'HRC_DL_PHYSICAL_LINES'
AND l.message_source_line_id = pl.physical_line_id))
AND l.data_set_bus_obj_id = bo.data_set_bus_obj_id
AND ds.data_set_id = bo.data_set_id
AND ds.ucm_content_id IN (:P_ucmContentID)
AND fl.line_id = fr.line_id
AND fl.data_set_bus_obj_id = bo.data_set_bus_obj_id
AND fr.logical_line_id = pl.logical_line_id
AND l.is_latest_flag = 'Y'
Filter Expr for ERP Integration Outbound event:
<xpathExpr
xmlns:ns0="http://xmlns.oracle.com/apps/financials/commonModules/shared">
$eventPayload/ns0:JOBS[ns0:JOBNAME='INT332_ADP_BIP_CUSTOM_ESS']
</xpathExpr>
Detailed steps with screenshots:
Step1: Create data model and BIP Report.
Step2: Create ESS job which calls the step1 BIP report.
Test ESS job from HCM:
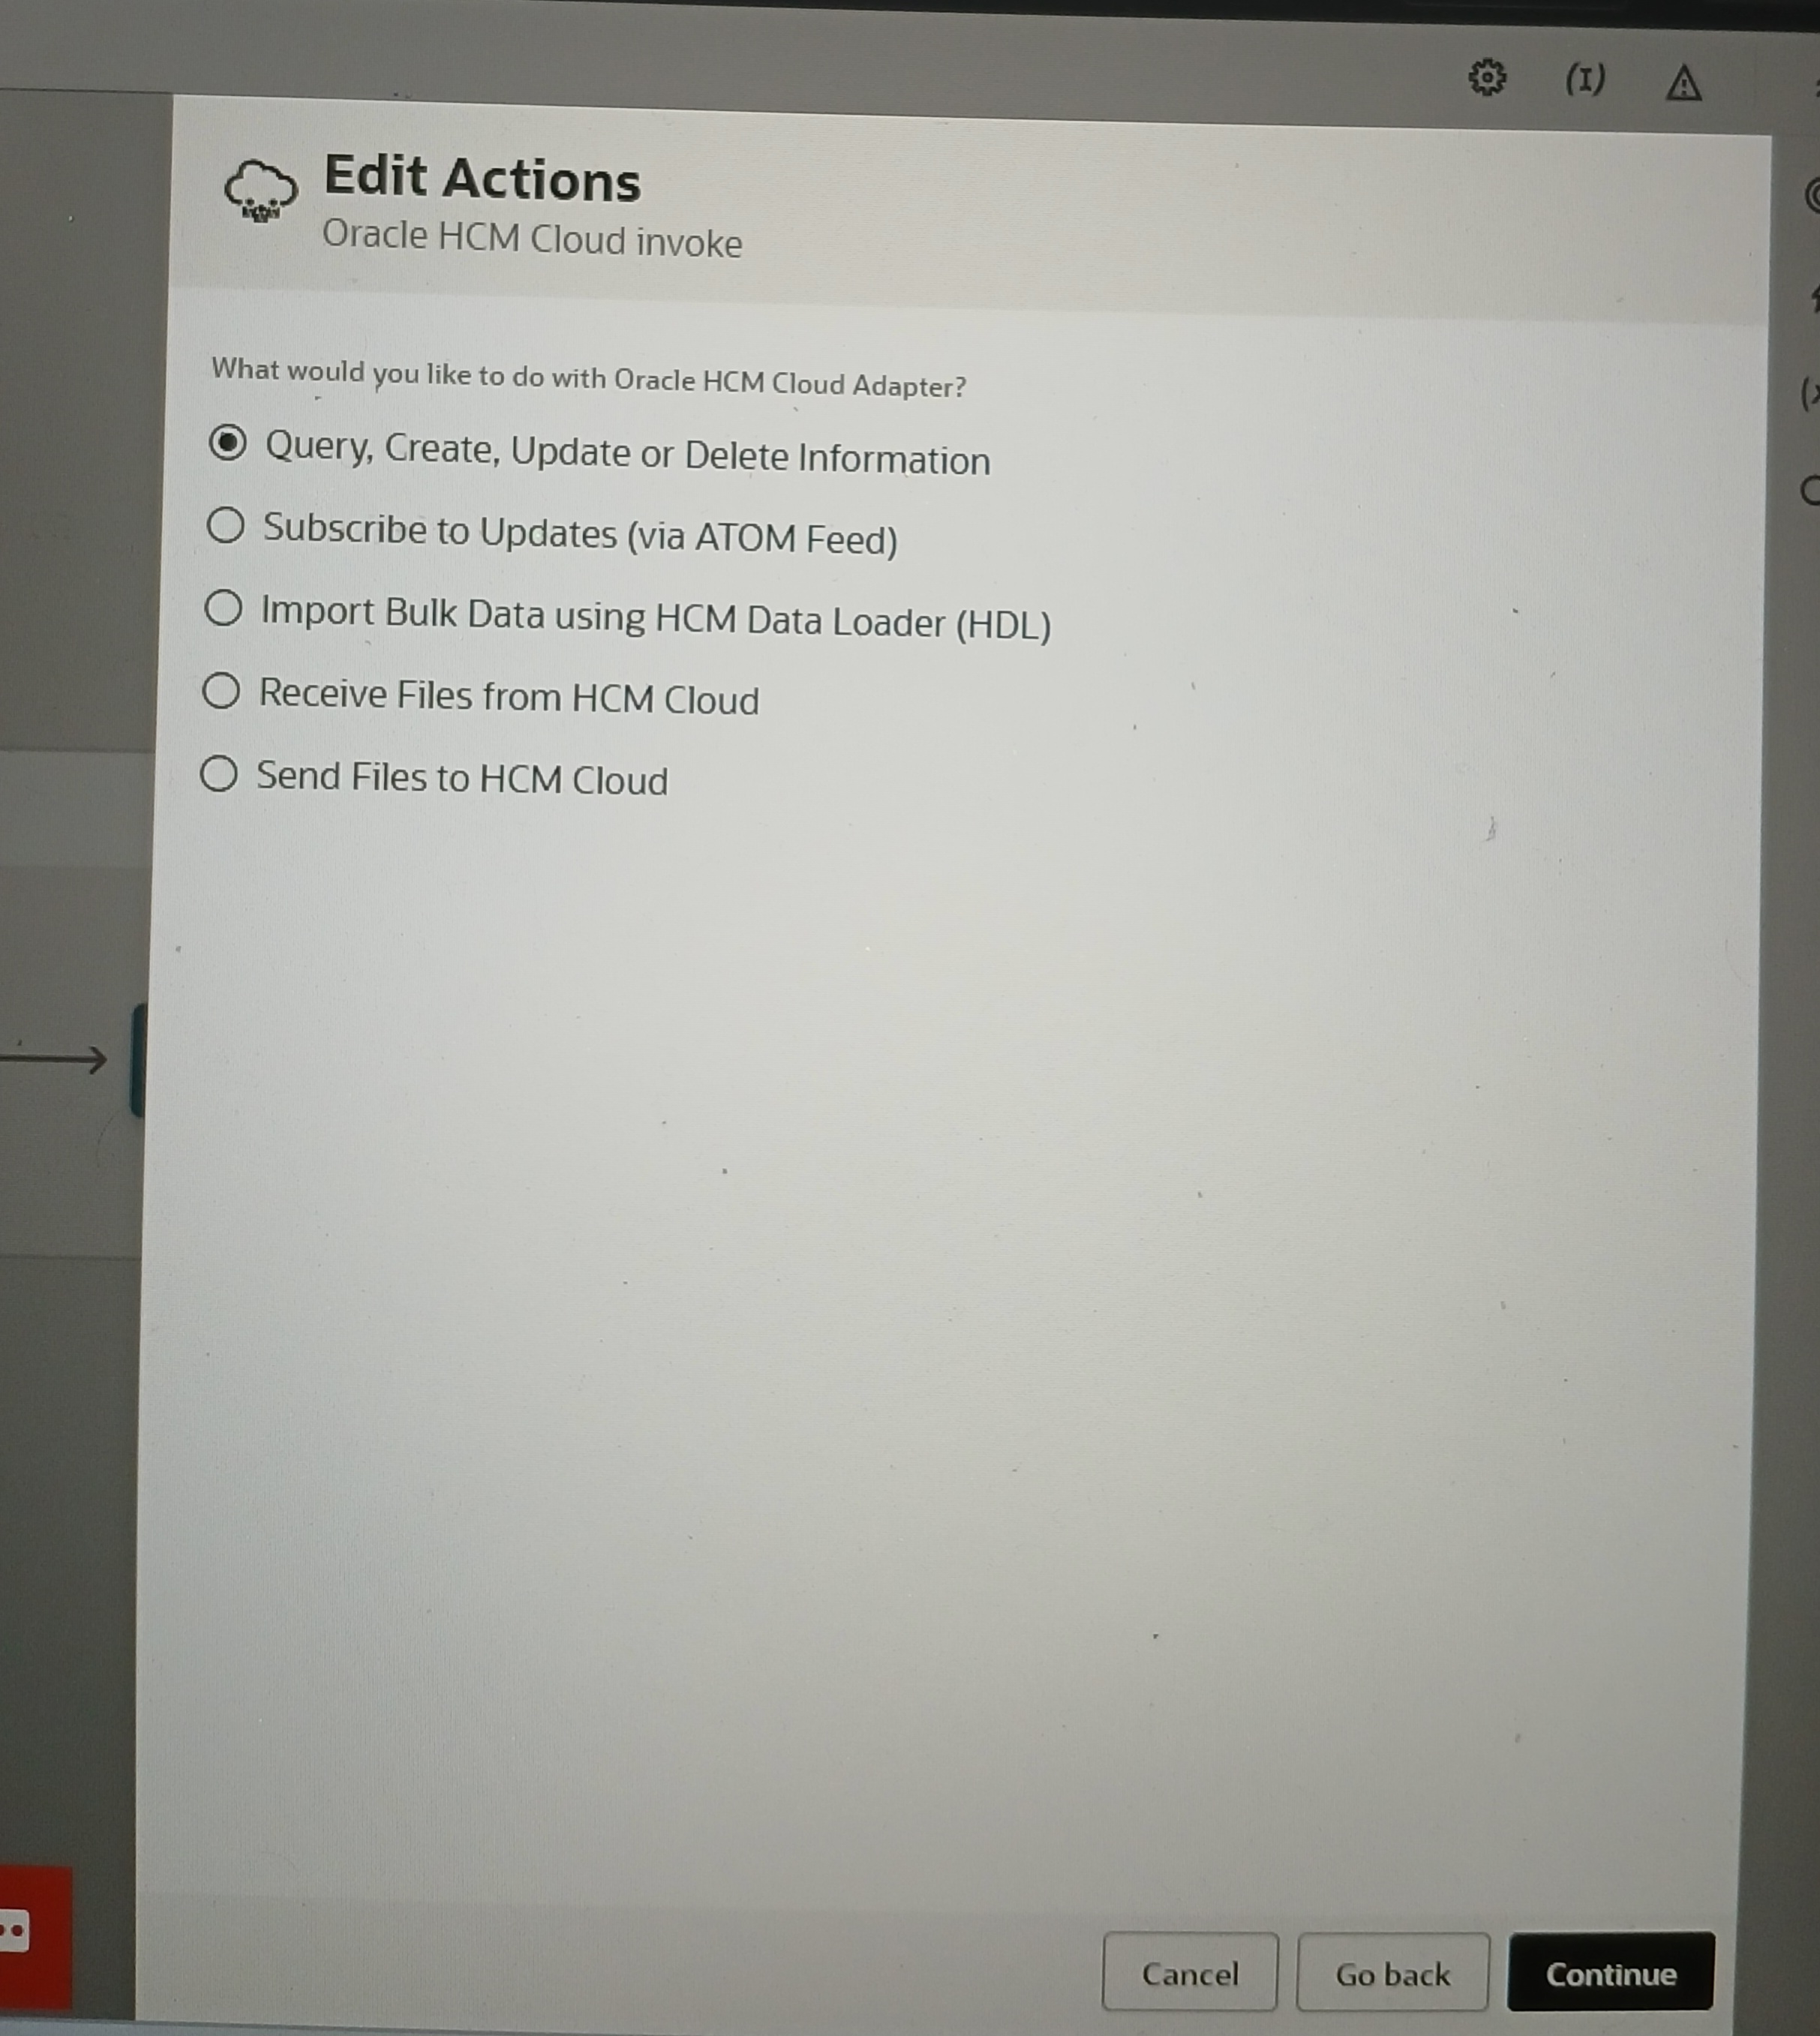
Step3: once the hdl import completed, run exportBulkData operation of ErpIntegrationservice using Oracle cloud HCM adapter
Step4: create a callback integration and get report and transformed the reprot and save to OIC embedded sftp location for support help.
Event subscribe:
Get report
Write file to sftp location.